Our Exo Terra Dual Top Canopy has been keeping Bert and pals (our White’s Tree Frogs) on the right side of day and night for many years now. The fan finally gave out a couple of weeks ago, so we replaced it and I thought I’d make a note of the details in case anyone else needs to do the same.
You can remove the end section from the canopy by taking out the four screws and just sliding it off. This leaves the fan exposed, and that’s only held on by two little screws (although they’re slightly awkward to access).
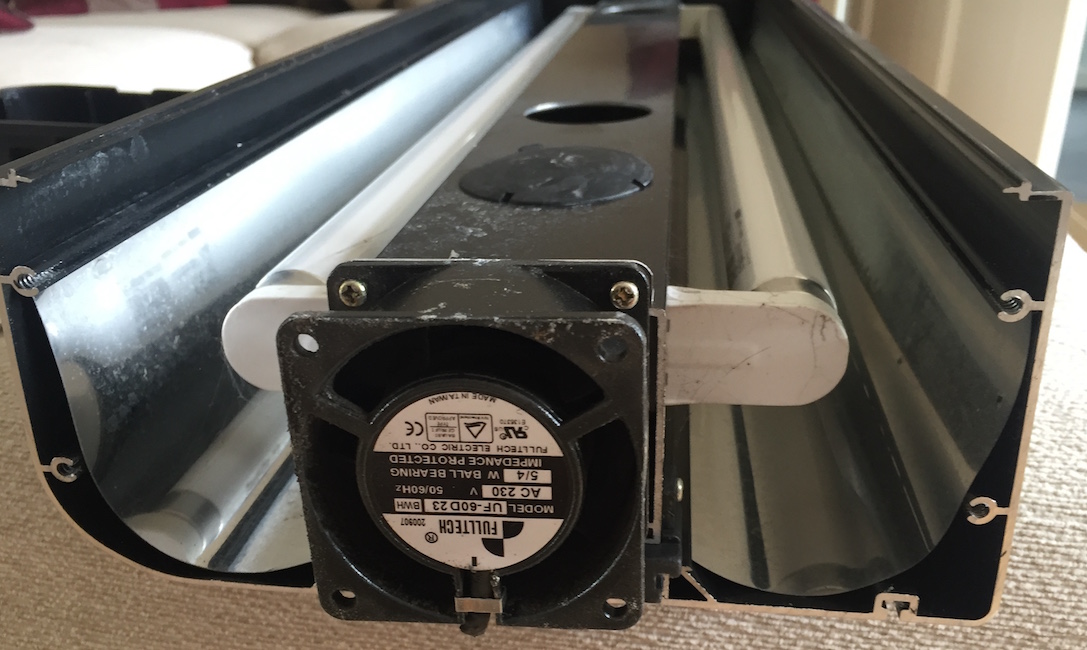
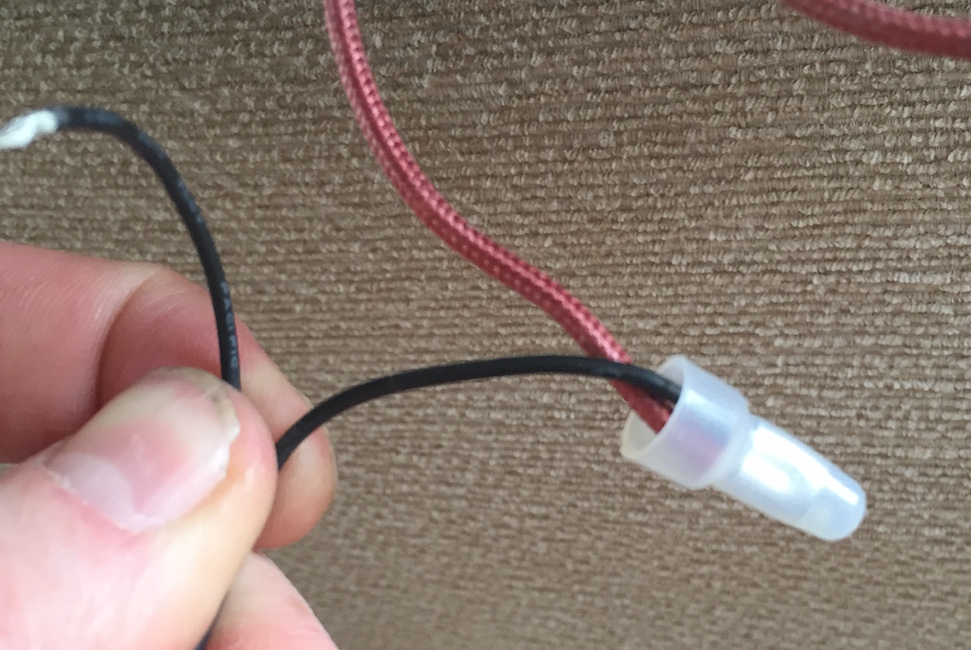
Once the fan’s detached from the mounting, the wiring is exposed. Note that it’s an AC fan, so there’s no polarity. I found that the easiest way to disconnect the existing fan is to squeeze each connector with a pair of pliers, opening up the metal clamps under the plastic, and letting you just slide the old wires out.
The details of the replacement fan you need are printed on the fan itself – it’s a Fulltech UF60D23. I found mine on eBay in the end. I did look for alternatives. There are plenty of 60mm x 60mm fans around, but the 30mm depth seems to be pretty unique, and it also has “impedence protection” which seems to be some kind of safety feature which some of the cheaper fans are missing. Obviously this is a 240V AC fan, so the zillions of 3V/5V/12V DC computer fans which will clog up your search results are of no use!

It’s basically then just a straight swap; it doesn’t matter which way around you wire the fan in (although obviously the direction of airflow is fairly crucial!), and then everything can be reassembled. Ours worked perfectly straight away and has been much, much quieter than the old one before it finally died. Nice and easy!